<Last modified: 2006-03-01 13:50:00 JST>
Cygwin is a Linux-like environment for Windows.
In this page, we explain how to set up Cygwin for using Dennou Ruby products. (confirmed on Windows XP)
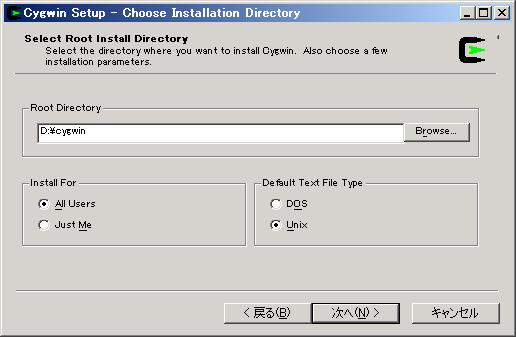
For example, "D:\cygwin".
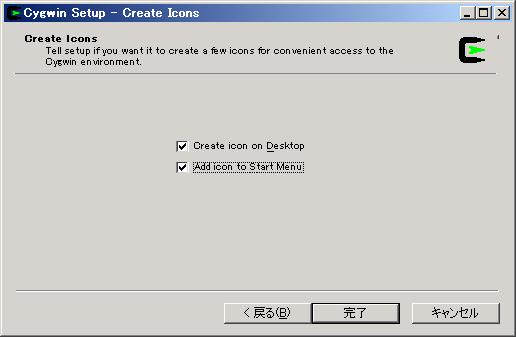
Check the following options:
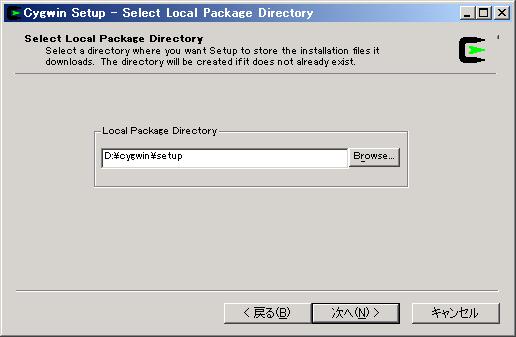
For example, "D:\cygwin\setup".
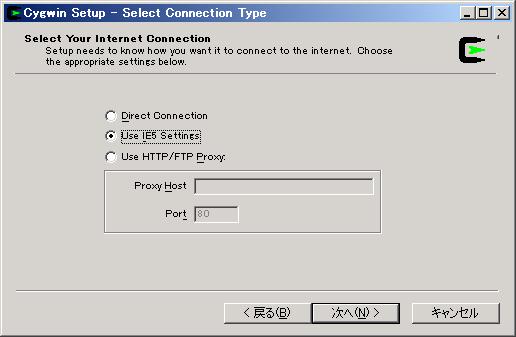
Usually, "Use IE5 Settings".

For example, "ftp://ring.aist.go.jp". Choose one near you.
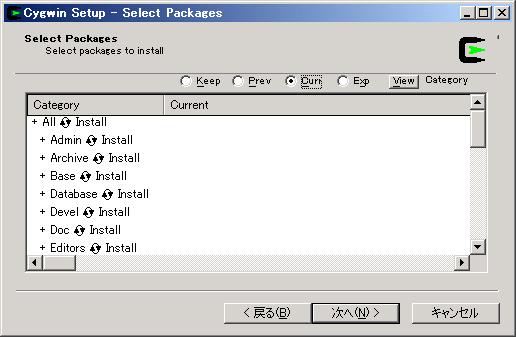
It is the easiest way to install all packages. Click the installation flag "Default" on category "All", then installation flags of the all categories are changed to "Install".
If your hard disk does not have enough capacity, select as following at least to use Dennou Ruby products:
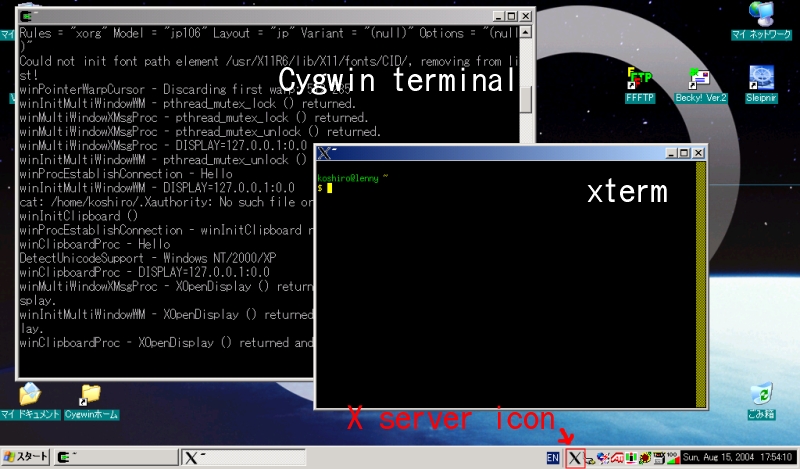
Click the Desktop icon of Cygwin. Cygwin terminal (command prompt) is coming up. Home directory is automatically set at the first execution of Cygwin terminal.
Type following command for running X server:
$ startx
X server icon is displayed on the Task Tray, and xterm is comes up. (X root window is not displayed. X client applications are directly displayed on Windows screen. )